
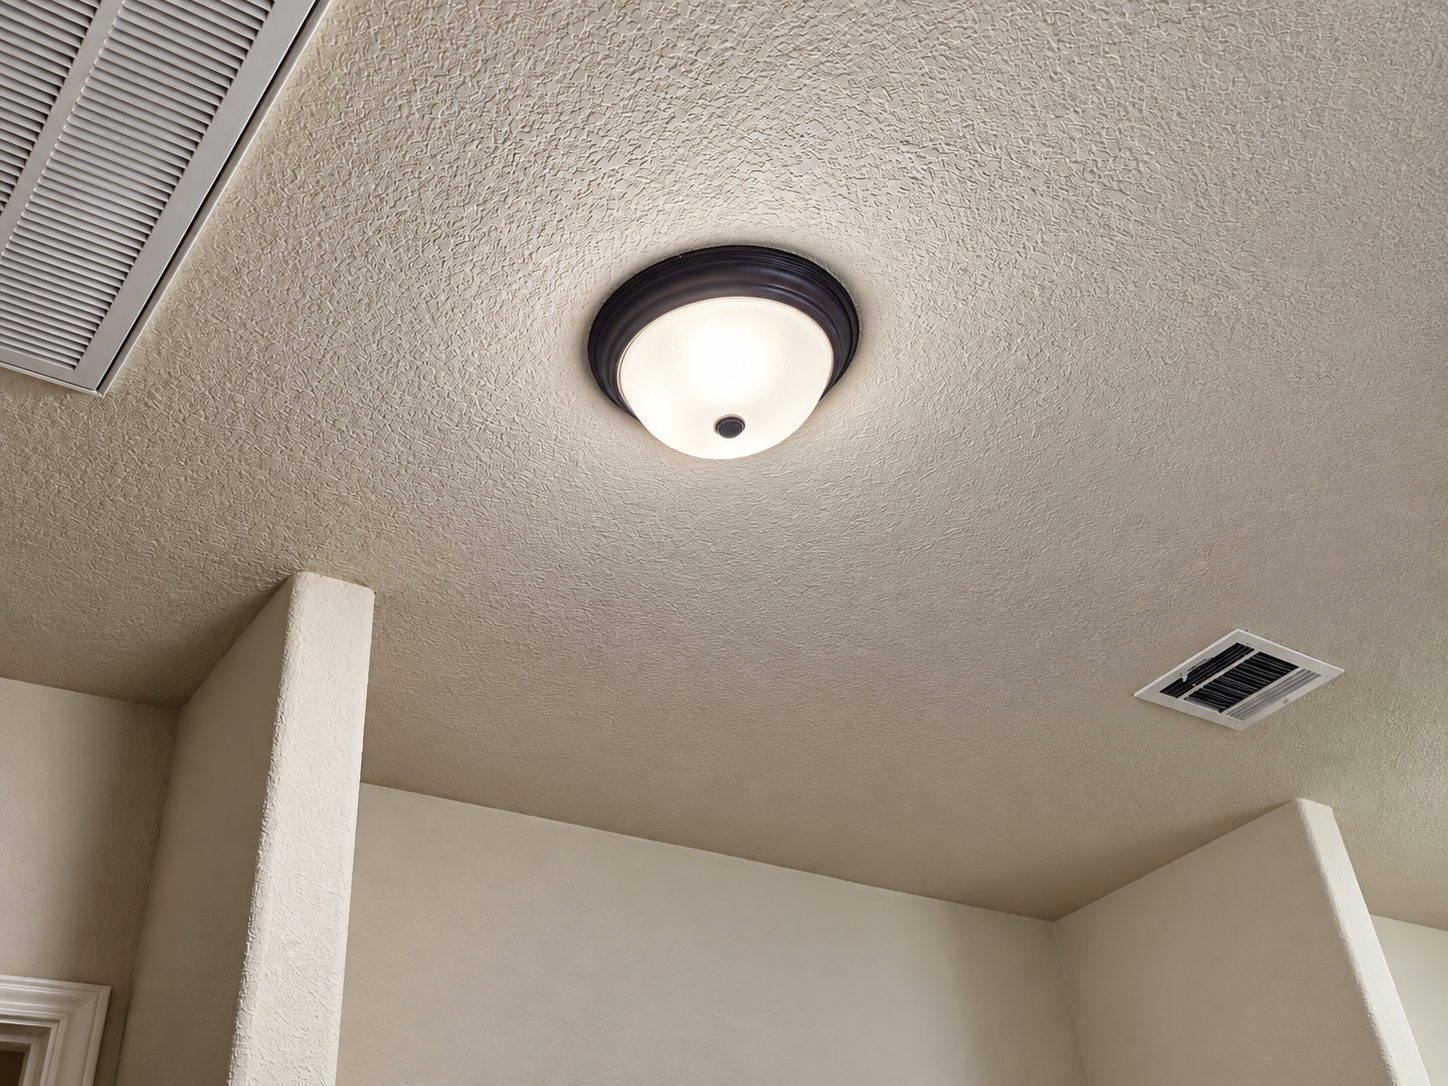
Project summary: Austin drywall ceiling repair for $1,600
This Austin project focused on repairing a damaged section of a textured drywall ceiling. The scope was priced at $1,600 under a turnkey arrangement including materials. The work addressed the visible ceiling damage and brought the repaired area back toward a consistent finished appearance.
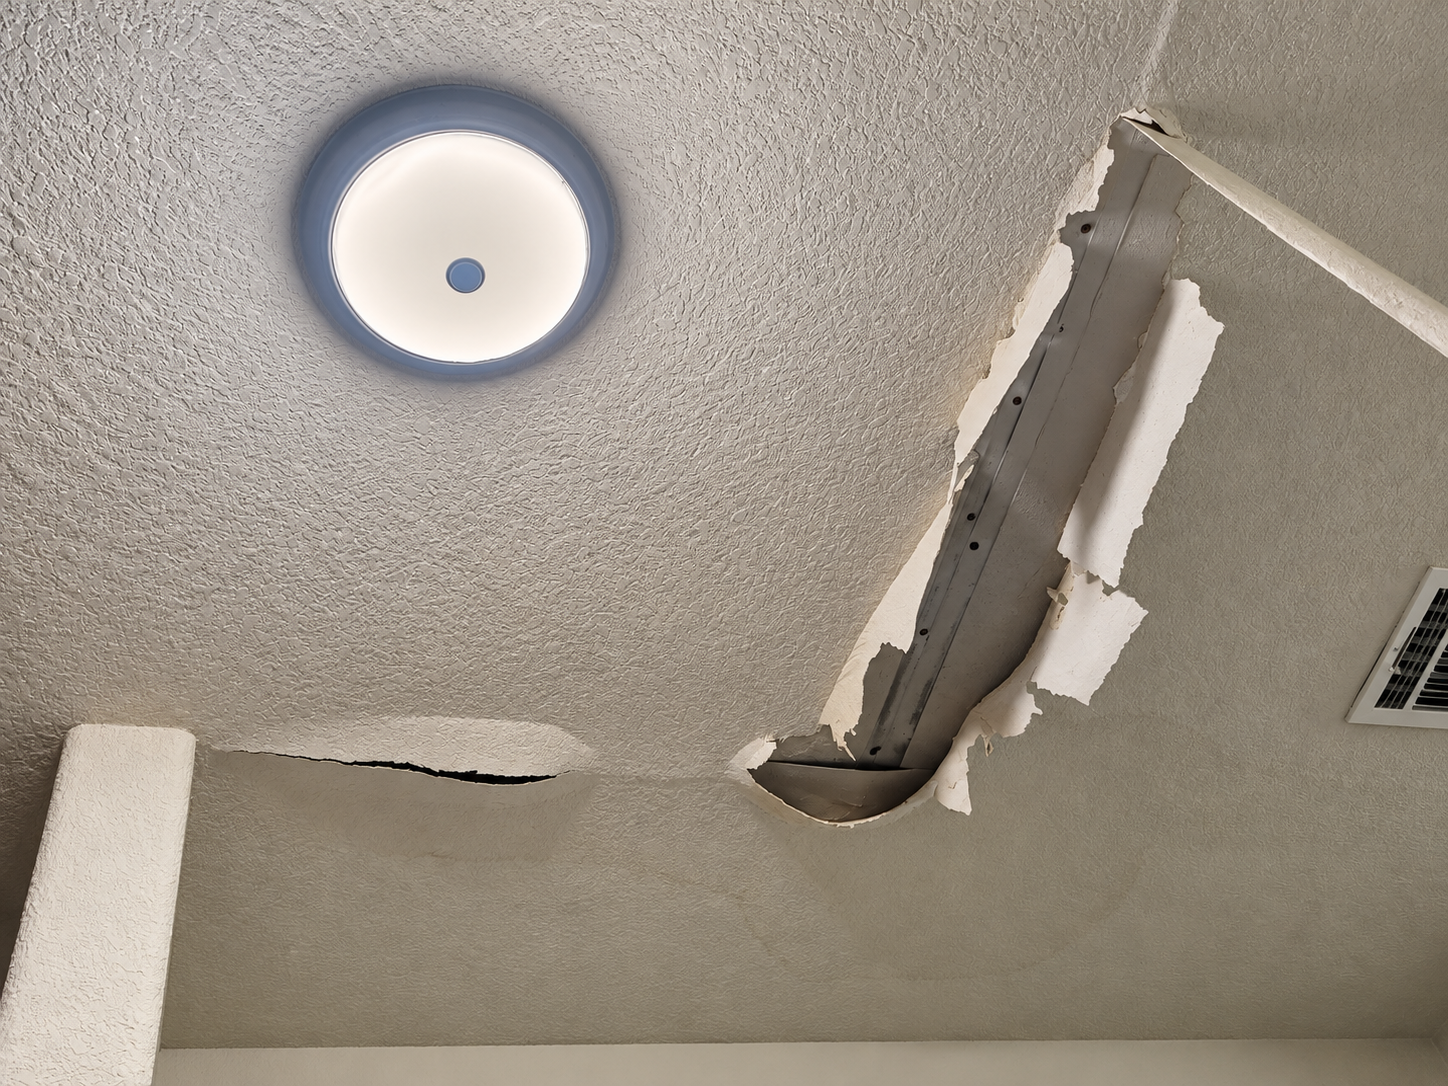
Before: damaged drywall and an open ceiling section
The starting condition included a large damaged ceiling area with broken drywall and exposed framing and insulation. There were also smaller areas that needed surface correction. These conditions require more than applying compound over the visible edge because the repair must be supported, finished, and blended into the surrounding texture.
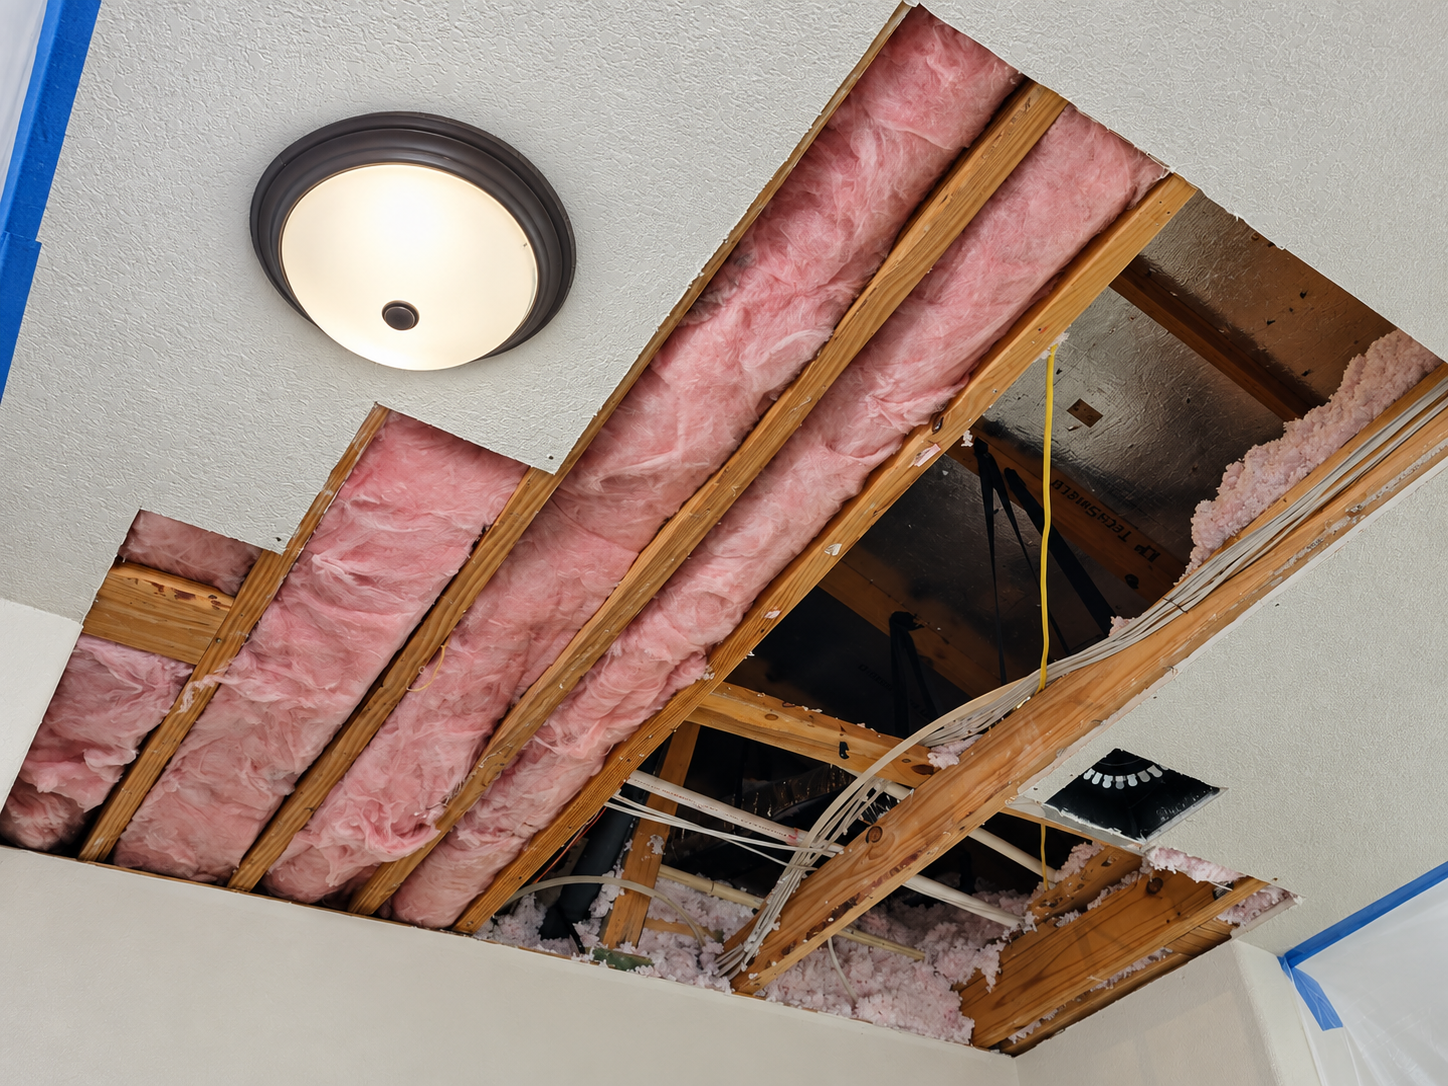
How the ceiling repair was completed
- Review the damaged ceiling and identify the areas requiring repair and finish blending.
- Prepare the opening and surrounding surface so the new repair could be secured and finished correctly.
- Install and finish the drywall repair, feathering the compound beyond the immediate patch.
- Sand and inspect the surface to reduce ridges, edges, and visible transitions.
- Blend the ceiling texture and prepare the repaired areas for the finished appearance.
- Clean the work area and leave the ceiling ready for normal use.
Texture matching is one of the details that determines whether a ceiling repair looks integrated or simply covered. Lighting direction, existing texture, repair size, and the transition around the patch all affect the final result.
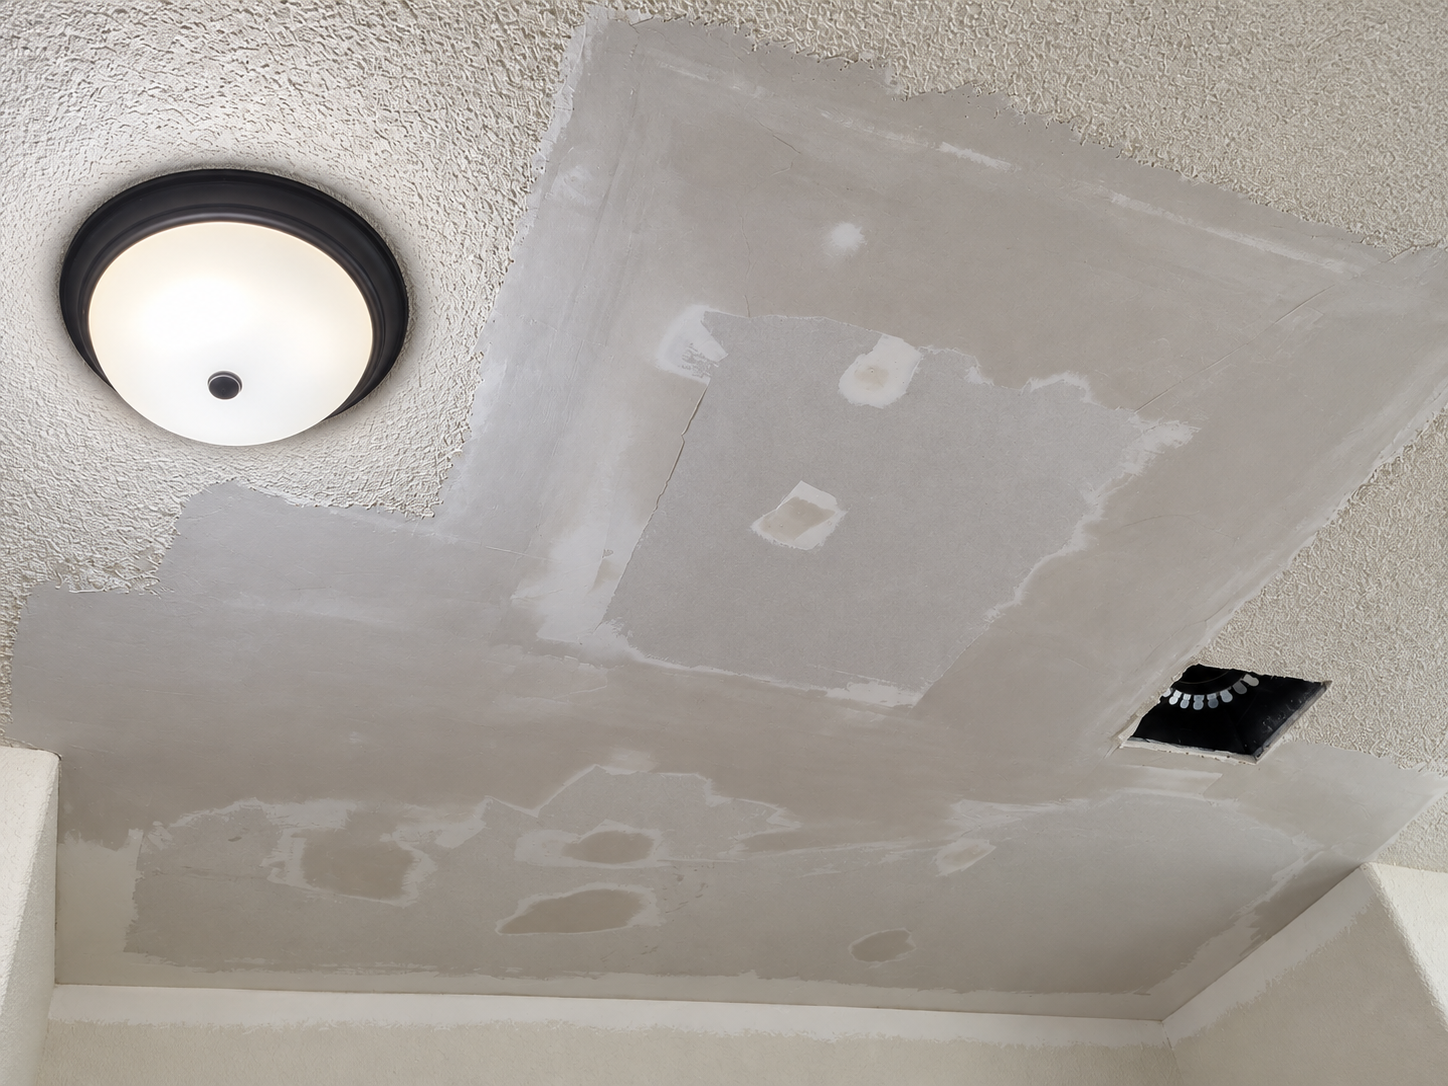
After: a cleaner, consistent ceiling finish
Once the repair and finish work were complete, the ceiling had a much cleaner appearance. The goal was not only to close the damaged opening, but also to make the repaired area fit naturally with the surrounding textured ceiling.
Planning drywall ceiling repair in Austin
For a more useful estimate, send photos from several angles, a close-up of the damage, the approximate size of the opening, ceiling height, and any information about leaks or other moisture. Photos of exposed framing, insulation, wiring, vents, and light fixtures can also help clarify the scope.
If the damage came from a leak, the source should be addressed before drywall is closed. If insulation, electrical components, or structural framing are involved, the repair may require additional inspection before the finish work begins.
Explore our drywall installation and repair service or request a free estimate for an Austin-area project.
Project source and scope note
The photos and $1,600 price in this case study come from this VAM Services LLC project. The price is not a blanket rate or quote for another property. Each ceiling is evaluated for damage, access, existing texture, protection needs, and the desired final finish.
Frequently asked questions
- How much did this Austin drywall ceiling repair cost?
- This specific turnkey project cost $1,600 including materials. It is a documented project price, not a fixed price for every ceiling repair.
- What was included in the drywall ceiling repair?
- The project included repair work on the damaged ceiling, drywall finishing, surface preparation, texture blending, and cleanup. The exact scope of another ceiling depends on its condition and access.
- Can damaged drywall ceilings be repaired instead of replaced?
- Often, yes. The right approach depends on the size and location of the damage, the condition of the framing and insulation, moisture history, and how closely the existing texture needs to be matched.
- How can I get an estimate for drywall repair in Austin?
- Send wide photos of the room and close-ups of the damage, along with the approximate size of the affected area. An on-site review may be recommended when framing, insulation, moisture, or access is involved.